![oxfordrisk.zendesk.comhctheming_assets01HZPK08F39VSQFMWBN7WG19VM.png]](https://help-centre.oxfordrisk.com/hs-fs/hubfs/social-suggested-images/oxfordrisk.zendesk.comhctheming_assets01HZPK08F39VSQFMWBN7WG19VM.png?height=40&name=oxfordrisk.zendesk.comhctheming_assets01HZPK08F39VSQFMWBN7WG19VM.png)
This article is for company admins. Adviser and assistant users are not able to create groups or access information about them.
On this article, we will cover the below topics:
You can organise your adviser and assistant users into groups, to control what they have access to and help keep your system organised. For example, you can use groups to link advisers and assistants, control access to different instruments, and allow users to share clients.
Create a group
- Open the account menu, select Users and groups, then choose Groups.
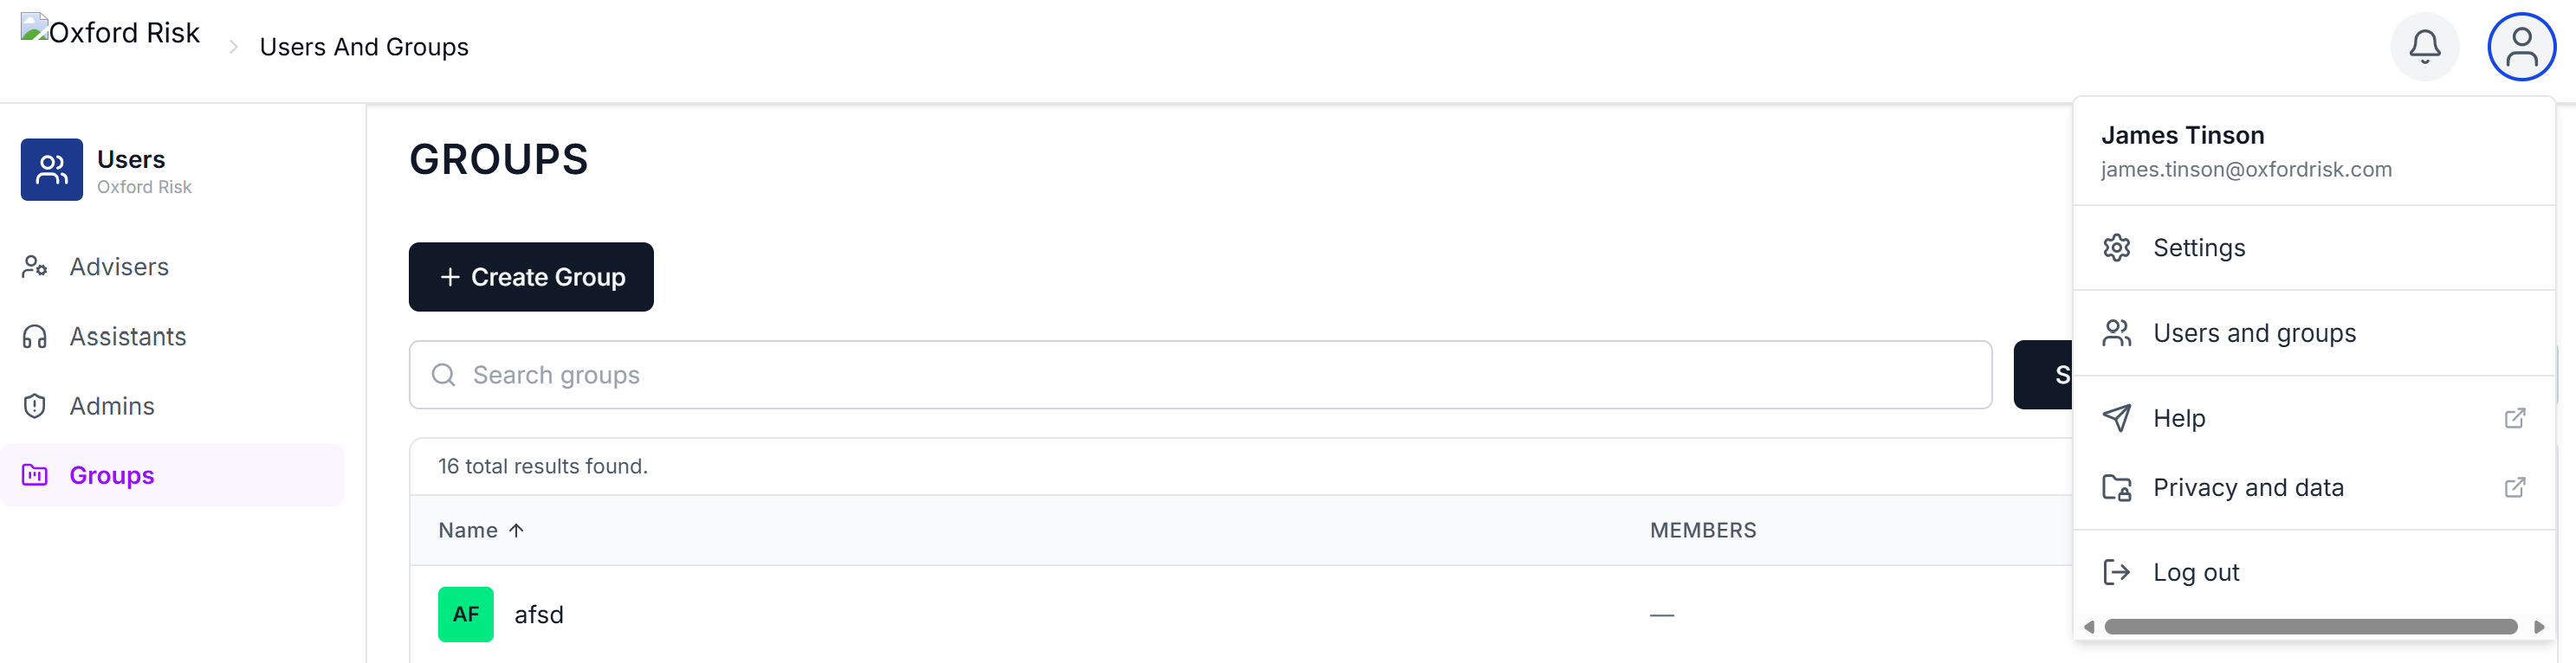
- Press Create Group.
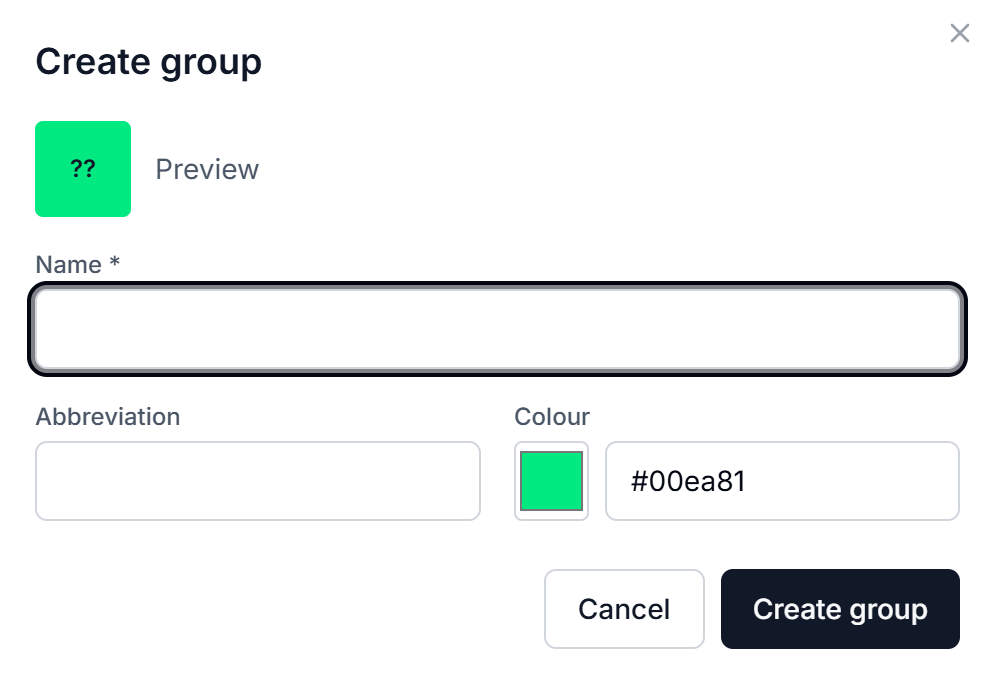
- Enter a name, set an optional colour and abbreviation, then press Create group
How to add users to a group
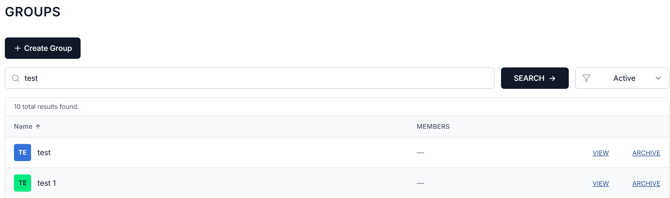
- From the Groups list, press View next to the group.
-
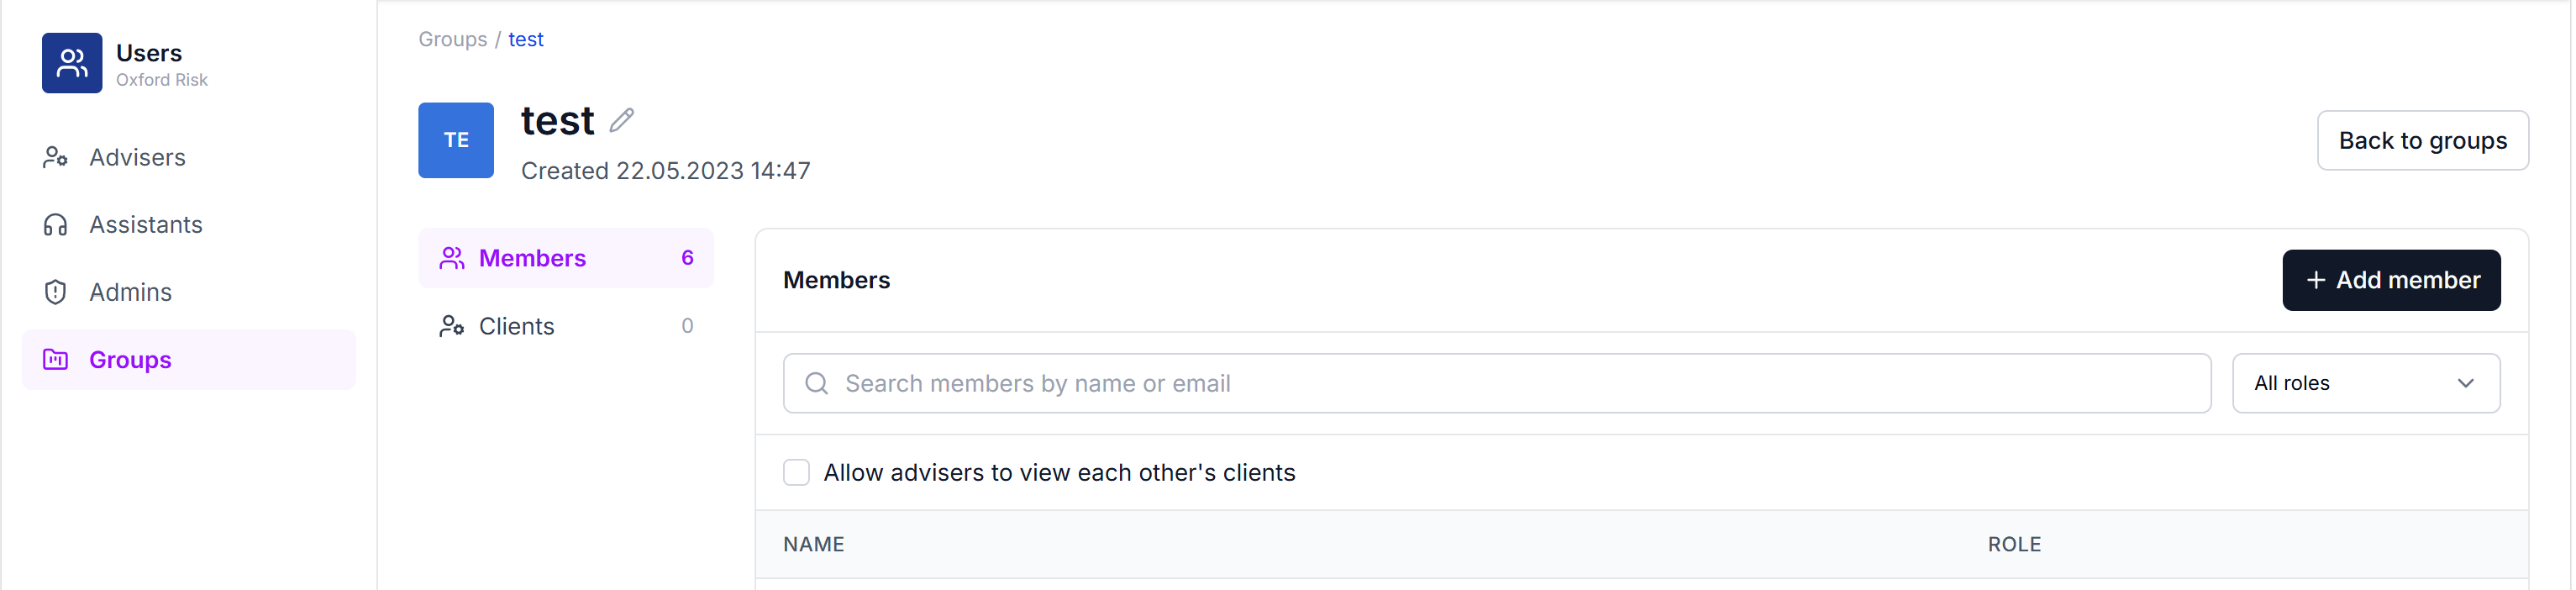
Press Add members to select advisers and assistants.
Group settings
-
- Tick 'allow advisers to view each other's clients' if you would like your adviser users (and assistants linked to them) to share a common pool of clients.
- Untick 'allow advisers to view each other's clients' if you would like your advisers to only be able to access their own clients. Note that if an assistant is linked to multiple advisers, and this box is unticked, then the assistant will be able to see both sets of clients, but the advisers will only be able to see their own.